Supported OS for this post:
- Windows 7 SP1 Enterprise
- Windows 7 SP1 Pro
- Windows 8.1 Pro
- Windows 8.1 Enterprise
Microsoft’s Windows Defender ATP (WDATP) now supports previous versions of Windows listed above.
If you use System Center Endpoint Protection for Win 7 and 8, you will need to ensure the January 2017 platform update is installed and the SCEP client Cloud Protection Services membership is to Advanced in the ConfigMgr antimalware policy that is applied to the systems.

For Windows 7 SP1 Enterprise and Pro ensure the following are installed
You will need the Workspace ID and key from the WDATP portal.
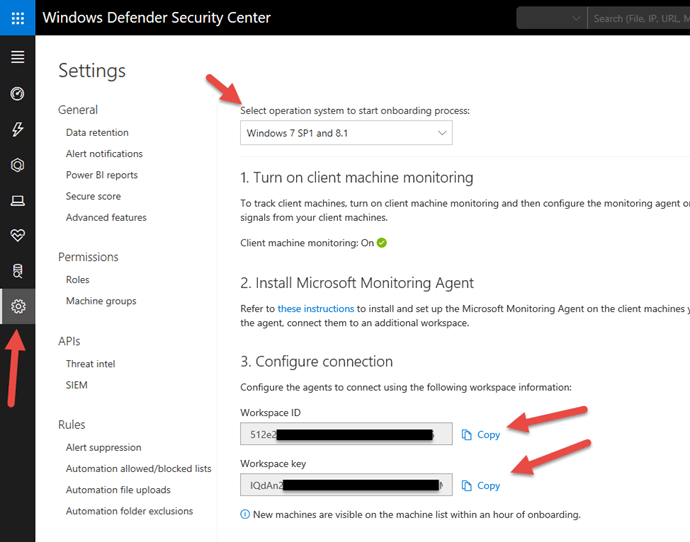
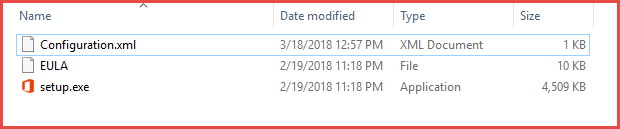
Download the MMA agent setup file: Windows 64-bit agent or Windows 32-bit agent.
Once you downloaded the agent(s), extract them (I use 7-ZIP) and place them in your ConfigMgr source folder so you can add as an Application. [I am not going to go into details how to add an Application into ConfigMgr]
The setup.exe or MSI command line parameters to pass are:
| MMA-specific options |
Notes |
| NOAPM=1 |
Optional parameter. Installs the agent without .NET Application Performance Monitoring. |
| ADD_OPINSIGHTS_WORKSPACE |
1 = Configure the agent to report to a workspace |
| OPINSIGHTS_WORKSPACE_ID |
Workspace Id (guid) for the workspace to add |
| OPINSIGHTS_WORKSPACE_KEY |
Workspace key used to initially authenticate with the workspace |
| OPINSIGHTS_WORKSPACE_AZURE_CLOUD_TYPE |
Specify the cloud environment where the workspace is located
0 = Azure commercial cloud (default)
1 = Azure Government |
| OPINSIGHTS_PROXY_URL |
URI for the proxy to use |
| OPINSIGHTS_PROXY_USERNAME |
Username to access an authenticated proxy |
| OPINSIGHTS_PROXY_PASSWORD |
Password to access an authenticated proxy |
Example:
setup.exe /qn NOAPM=1 ADD_OPINSIGHTS_WORKSPACE=1 OPINSIGHTS_WORKSPACE_AZURE_CLOUD_TYPE=0 OPINSIGHTS_WORKSPACE_ID=<your workspace id> OPINSIGHTS_WORKSPACE_KEY=<your workspace key> AcceptEndUserLicenseAgreement=1
Deploy the application to the collection that contains your target computers.
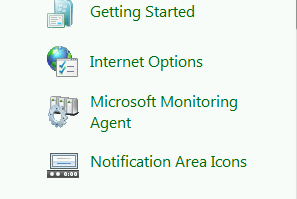
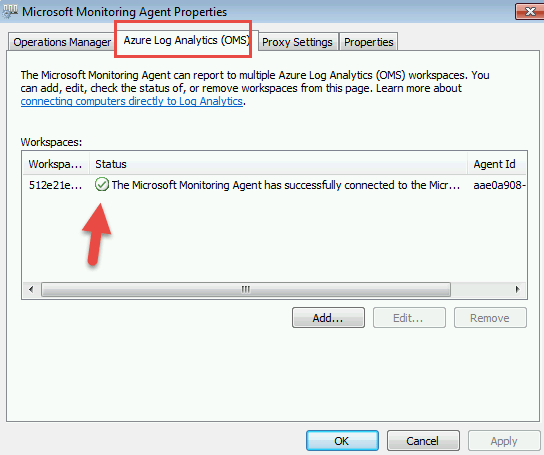
Once the agent is installed, you will see Microsoft Monitoring Agent in the Control Panel
Open the control panel applet and go to the second tab which is Azure Log Analytics (OMS). If there was a successful connection, you will see a green check box.
Within 30 minutes, you will see the computer show up on your WDATP portal.

Run the detection test on the Windows 7/8 computer
powershell.exe -NoExit -ExecutionPolicy Bypass -WindowStyle Hidden $ErrorActionPreference= ‘silentlycontinue’;(New-Object System.Net.WebClient).DownloadFile(‘http://127.0.0.1/1.exe’, ‘C:\\test-WDATP-test\\invoice.exe’);Start-Process ‘C:\\test-WDATP-test\\invoice.exe’
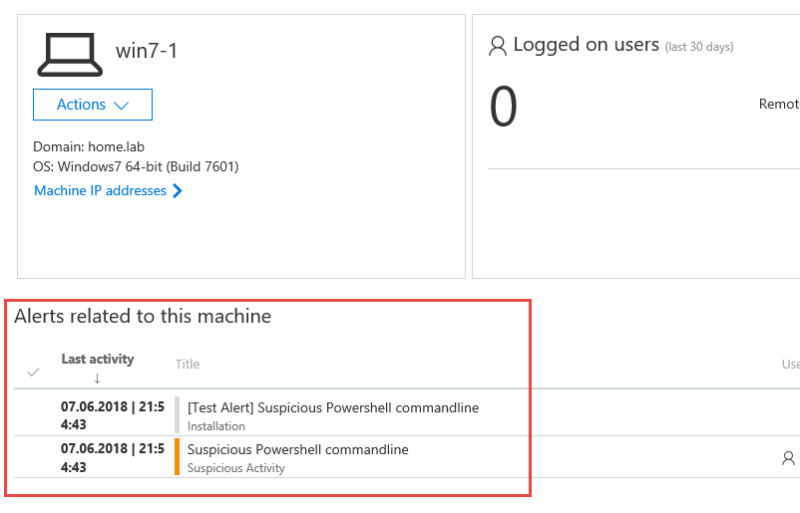
Once the command is executed, in the Portal within a minute or so, you will see the Risk Score change to Medium

Digging into the machine, you will see the powershell command tagged as Suspicious.
If you do not see a green check box in MMA agent:
- Check proxy and internet connectivity
- Ensure the workspace ID and KEY are properly entered
- Install the MMA agent manually on the machine and enter the information.
- Check command line in your deployment for spelling, spaces, etc.
Configure server proxy and Internet connectivity settings
Each Windows server must be able to connect to the Internet using HTTPS. This connection can be direct, using a proxy, or through the OMS Gateway.
- If a proxy or firewall is blocking all traffic by default and allowing only specific domains through or HTTPS scanning (SSL inspection) is enabled, make sure that the following URLs are white-listed to permit communication with Windows Defender ATP service:
- If a proxy or firewall is blocking all traffic by default and allowing only specific domains through or HTTPS scanning (SSL inspection) is enabled, make sure that the following URLs are white-listed to permit communication with Windows Defender ATP service:
| Agent Resource |
Ports |
| *.oms.opinsights.azure.com |
443 |
| *.blob.core.windows.net |
443 |
| *.azure-automation.net |
443 |
| *.ods.opinsights.azure.com |
443 |
| winatp-gw-cus.microsoft.com |
443 |
| winatp-gw-eus.microsoft.com |
443 |
| winatp-gw-neu.microsoft.com |
443 |
| winatp-gw-weu.microsoft.com |
443 |
| winatp-gw-uks.microsoft.com |
443 |
| winatp-gw-ukw.microsoft.com |
443 |
| winatp-gw-aus.microsoft.com |
443 |
| winatp-gw-aue.microsoft.com |
443 |